Moving on to the shade on the door...I didn’t bother to remove the side rails, just the top.

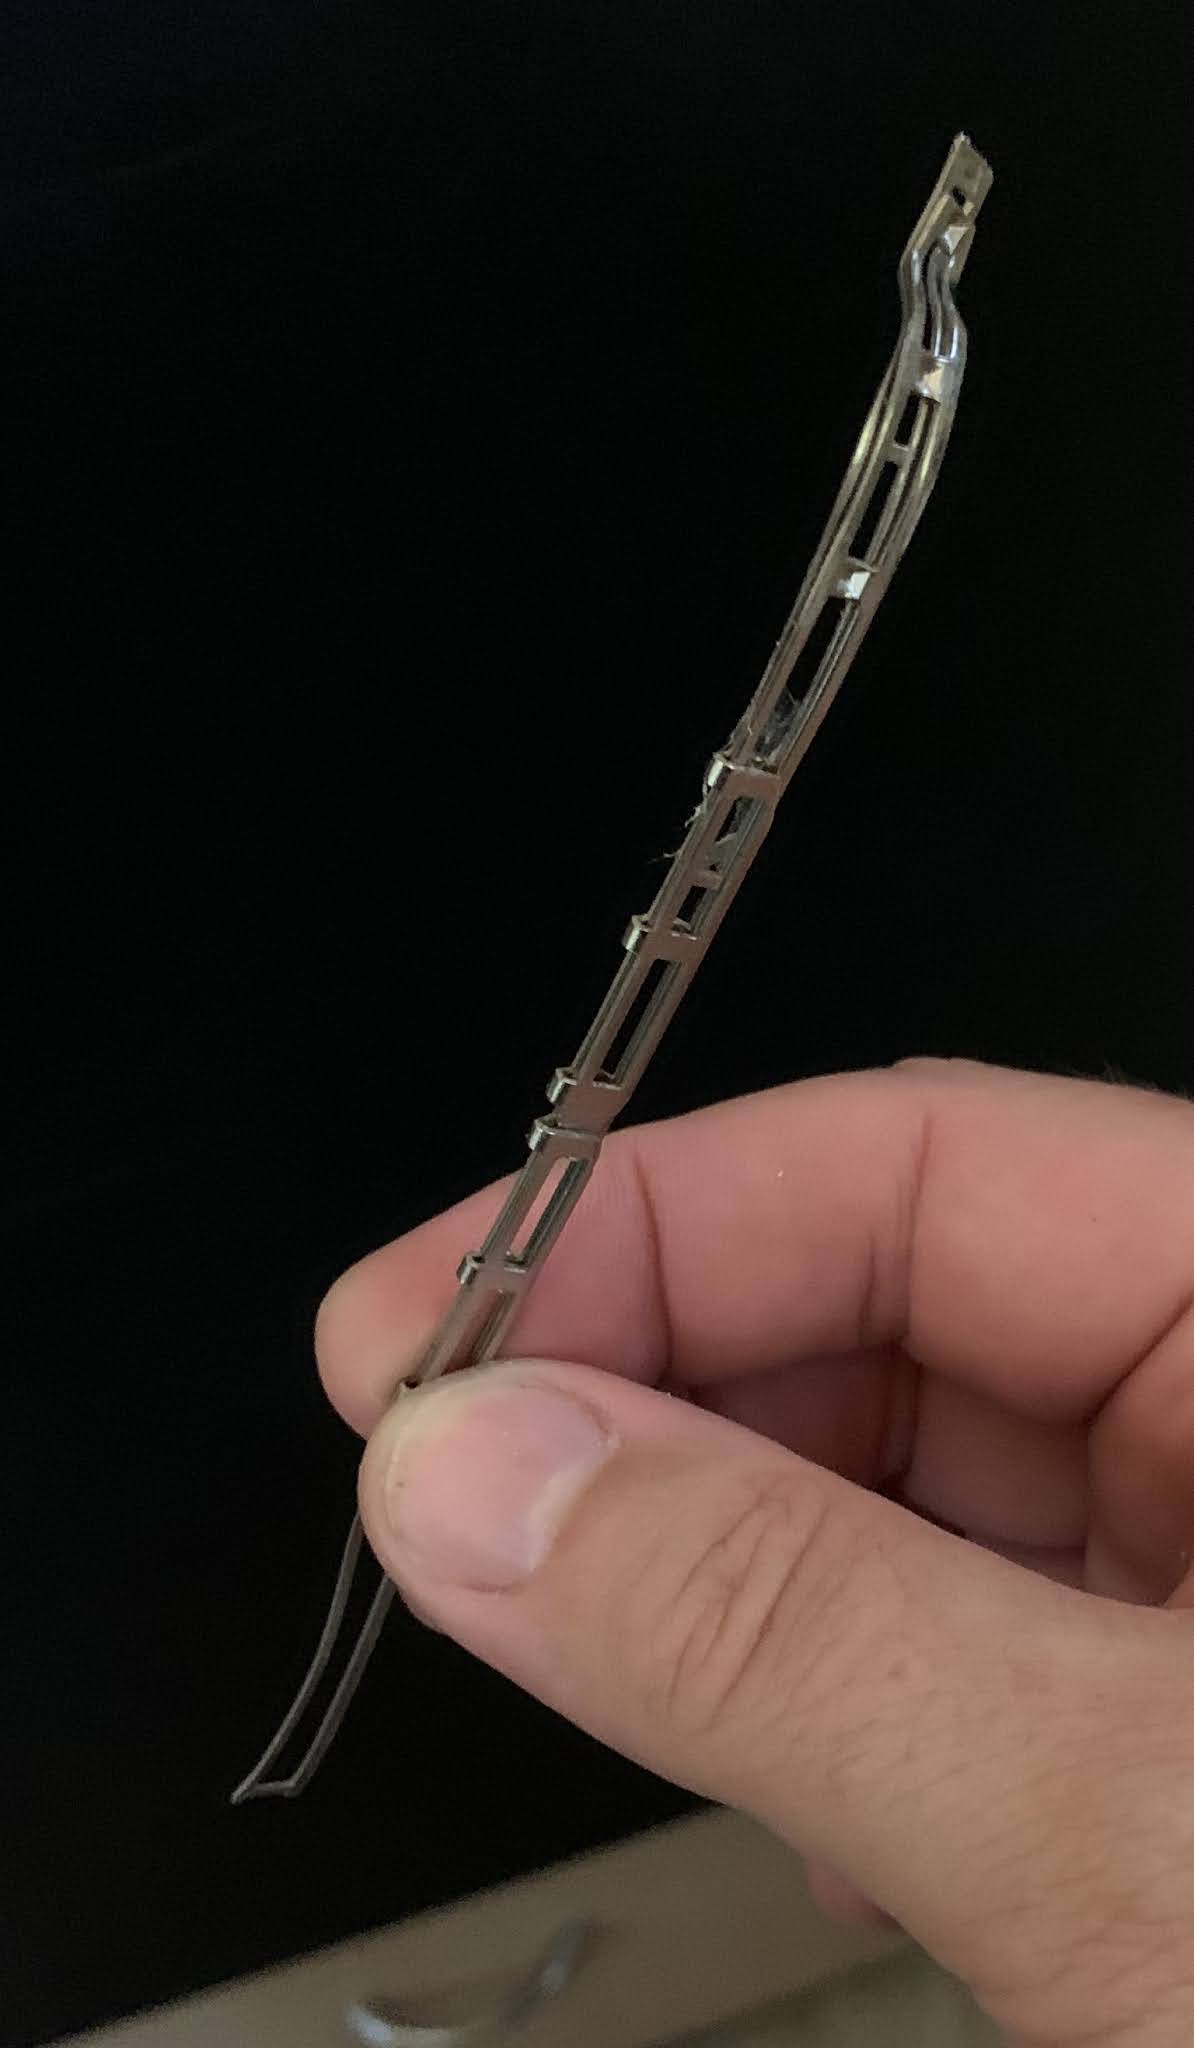
There was an odd piece of metal shoved down one of the side rails. I have no idea where it came from, but it looks (a) broken and (b) not part of the shades.
Whatever. Repeating the same procedure as before, I removed the side, keeping my finger on it so the spring loading didn’t send it flying. And this time, a torx driver was needed. The sheer variety of different screw heads in this trailer is staggering.

Again, same drill...hold down the axle and let the spring loading gradually wind out, remove the old shade material, and keep the plastic beads that lock the fabric in place.

So more detail on how to get the new fabric in. Shove it in the slot with a credit card.

Feed the plastic bead in the same width as the card to get things started.

Repeat the process, working your way down the length of the roller.

Do the same for the pull-down handle, and put the roller back in the housing, minus the plastic slot that the axle fits into. Screw the side back on.

Now, put the white plastic slot on the end of the axle and wind it around about six times. It really helps to have a second person hold the housing for you. Pop the white plastic slot back in the housing while keeping tension on the axle.

Aaaand now I figure out what that odd bit of metal was. One of the tabs that fit inside the vertical rails was broken. Someone (former owner?) improvised a fix using a piece of scrap metal.

Without it, the vertical rail does not stay in place.

As a quick fix, I drove another screw into the door to hold the rail in place. Doesn’t look fantastic, but it works.

The finished product.

No comments:
Post a Comment