NOTE: Be sure to read the other parts; they contain better pictures of some of the things I am talking about here,
The vinyl window shades on the trailer were pretty busted up - the edges were frayed so they did not want to stay inside the tracks when opening or closing. The screens were not much better; full of (taped up) holes and generally weak feeling.
Nothing about this process was hard per se, but it was involved because it involved taking off the wooden valences just to get at the screws to remove the shades from the wall. As always, be gentle unscrewing and don’t use power tools because the screws are threaded into the soft wall material and you want to be able to get everything back in place.
I’ll spare you the gory details of getting it off the wall, mostly because I neglected to take enough pictures. The valence comes off by popping off the round, brown plastic covers on the fasteners and removing the screws (this takes a square bit driver). Once off, the entire unit looks like this:
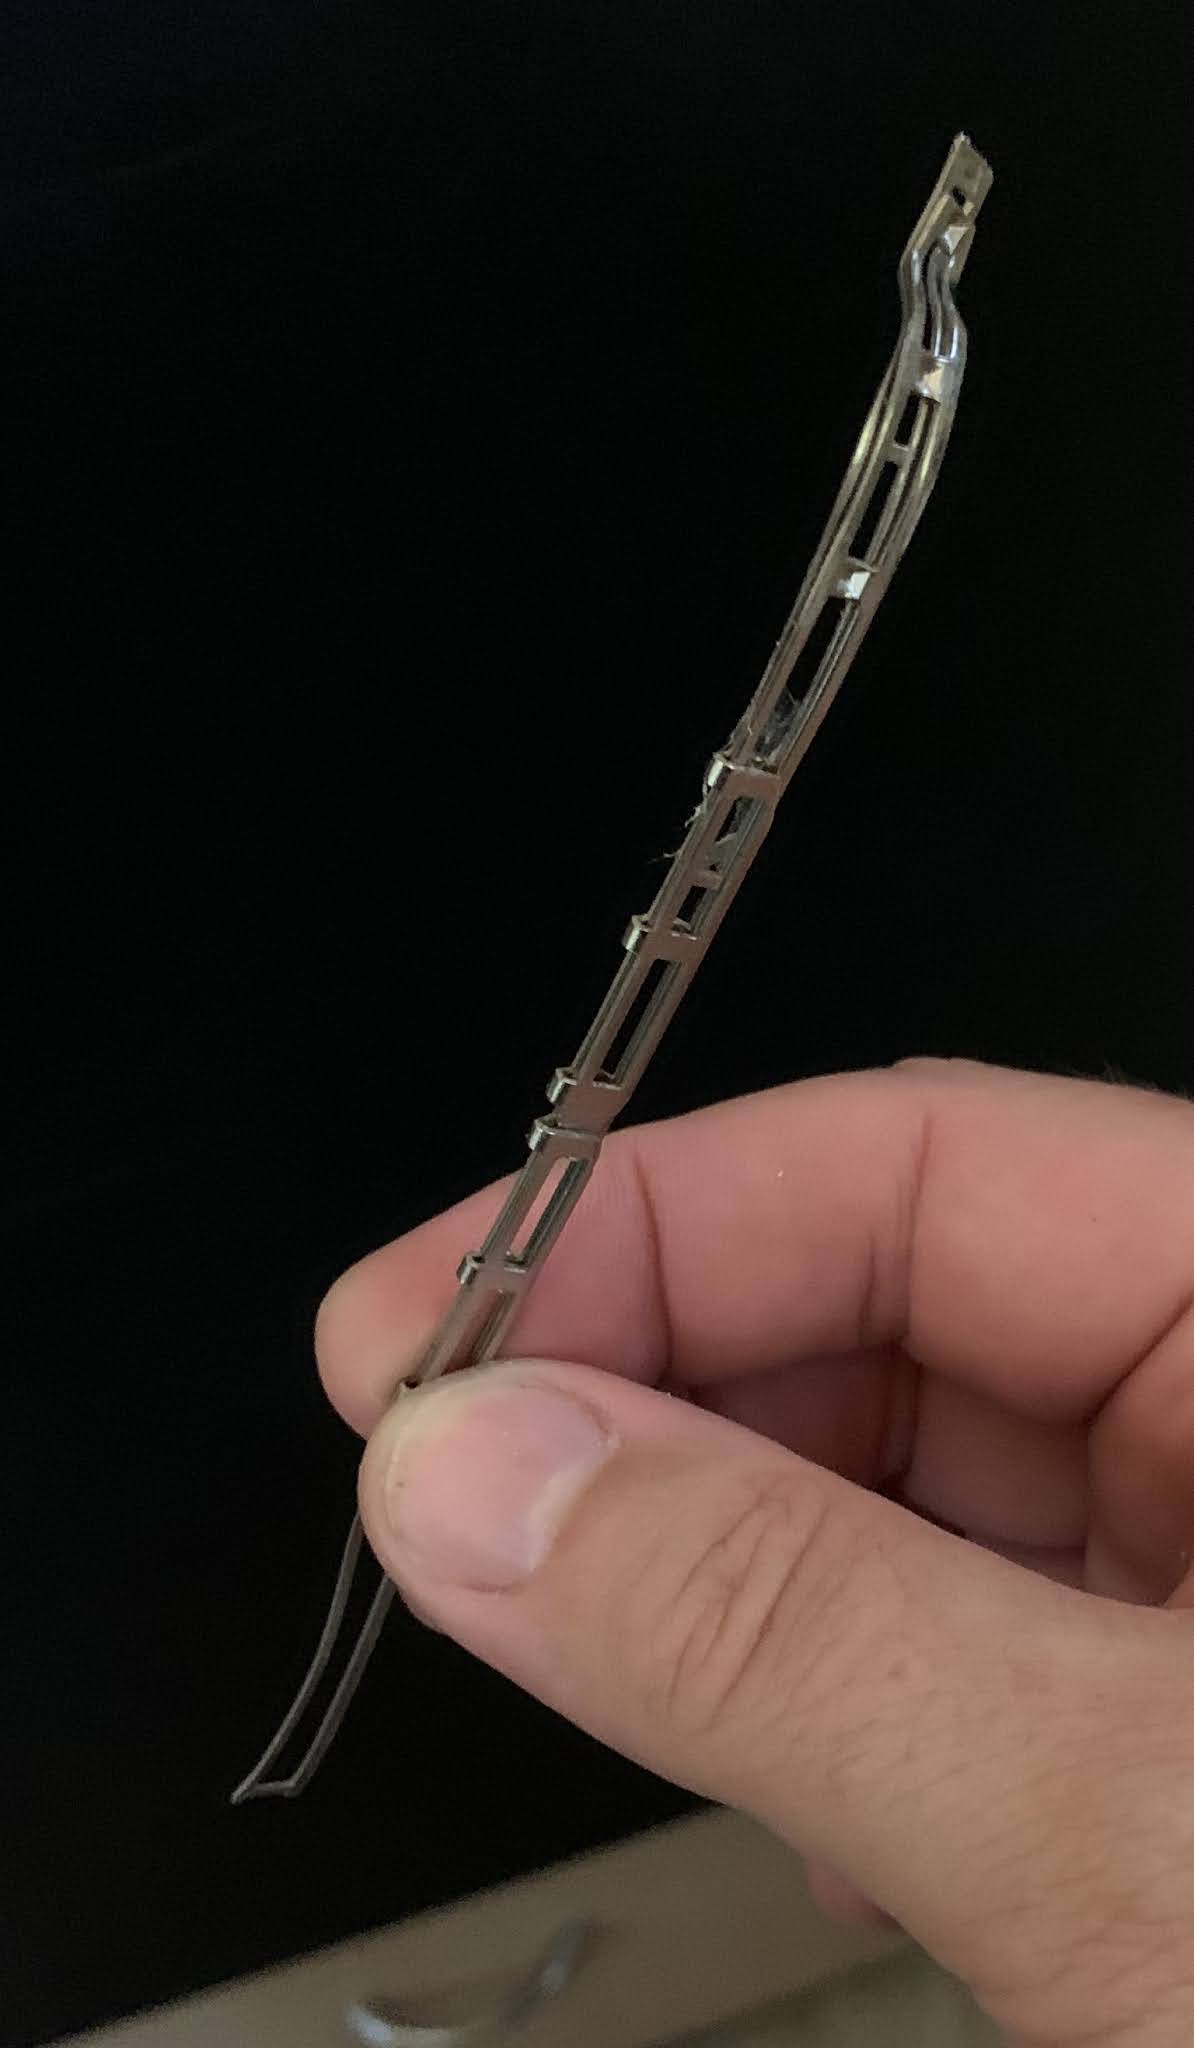
The screen and shade are on separate rollers. To remove, find the side of the unit that is removable with three screws. While removing the screws, hold down the side with your finger as the unit is spring loaded and chaos will ensue if it flies apart in an uncontrolled fashion.
Once you have the end unscrewed, carefully let the end slide off, but don’t remove the rollers. This is what the other side (the one without the screws) will look like. The metal rods are spring loaded horizontally and will extend out of the rollers a couple of inches; don’t let the metal rods come out of the plastic slots just yet.
To remove the rollers, pinch the rod tightly and remove it from the white plastic slot. Release some of the pressure on the rod and let it “spin out” to remove the tension in a controlled fashion.
You should now have two rollers separated from the plastic housing. The material is connected to the roller and the pull-down handle by looping the fabric in a slot and running a strip of round plastic bead through it to lock it in place. Slide the fabric out of the slots horizontally an inch or so.
Now get a hold of the plastic bead and pull it out. Do this carefully, as you will need that plastic bead to secure the new fabric in place. If you pull too hard you can break it.
You will note that the old shade material is sewn together to make a loop around the bead. It is not necessary to reproduce this, as the bead will be tight enough to hold the new material in place. Once you’re done, you should have two empty rollers, two empty pull handles, four strips of plastic bead, two discarded sheets of screen/shade, and the plastic housing.
Now is the part that, for me, was the most difficult: cutting the fabric. This is at least in part due to a lack of tools and work surface to do the job properly, but I find working with fabric in general difficult. The first time I cut shades, it came out as a completely useless parallelogram. Cut the material to EXACTLY the same width, but give yourself an extra inch or so in length. I used a vinyl-backed cloth material for making blackout curtains from JoAnn, and obtained replacement screen material from Home Depot.
At this point I stopped taking pictures because I thought I would take more when I did the other window, but I haven’t gotten around to that yet. I’ll make a follow up post when I do, but in the mean time, here’s how to finish the job:
- “Stab” the fabric into the slot on the roller with a credit card for a few inches on one end. Slide the plastic bead in the slot forming a loop in the fabric. Repeat this process a few inches at a time until the fabric is firmly attached to the roller for the entire length. Repeat for the pull handle.
- Roll up the fabric onto the roller. See the pictures above if you forgot which way they should go.
- Insert the flat end of the metal rod back in the slot on the plastic housing. Rotate the roller about a dozen times to regain the tension, then put the roller flush in the housing. The pull handle should keep it from unrolling until you manage to screw the side back on.
- Screw the unit back onto the wall. When putting the side rails back on, make sure the pull handles are inside the slots.
The finished product: an intact screen and significantly less beige.